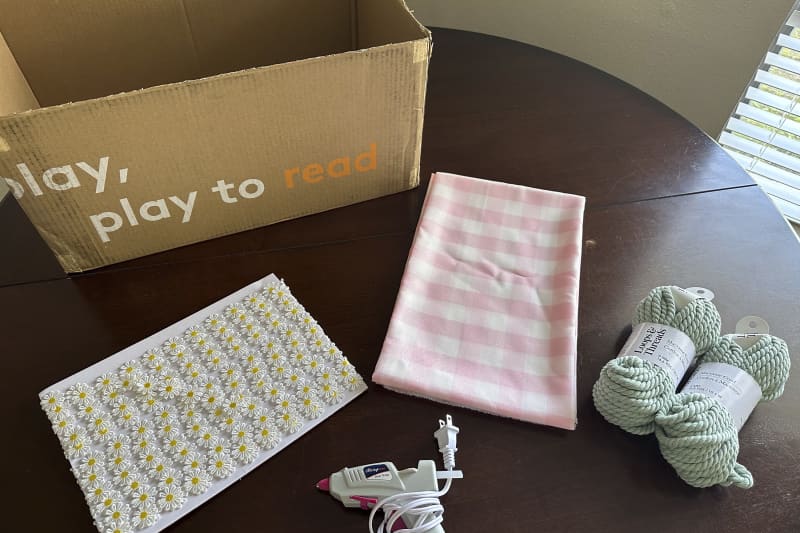
As a journalist and mother, I receive a lot of packages, so I end up breaking down and recycling a lot of boxes. Lately, my daughter has been reusing everyday items in her art projects. When I saw this video on how to turn a regular cardboard box into a tall basket, I thought it was my turn to be smart.
One of the best things about being a parent is being given so much art for kids. I wanted to surprise her with something fun that I made myself. Spoiler alert: She loved it.
How I tried this DIY cardboard box hack
In this video, Tara Tedesco (@tnstyled) shows you how to do a DIY cardboard box hack. She lines the inside with fabric (she used a pillowcase), wraps the outside with jute rope, and adds a trim towards the top as a final flourish. All of this was secured with her trusty hot glue gun.
It’s an “affordable and cute way to use cardboard boxes, perfect if you need extra storage space,” she says in the caption. So I gathered up some materials: an empty cardboard box, pink plaid fabric, green cotton twine, and daisy lace trim, and got to work.
Credit: Quincy Bulin Credit: Quincy Bulin
Tedesco folded the fabric flaps into the box, but I decided to cut them out. I didn’t want one of the flaps to lift up one day. Because you can’t fix it without ruining the rest of the DIY. Plus, clean lines weren’t important because the fabric would cover my cuts.
I thought the most stressful part was cutting the fabric. I didn’t know how to lay it flat, so it overlapped in places and stuck. There must be some approach to solve this problem, but I don’t know what it is. That said, not having to worry about whether the cut was straight or clean was a big help.
Credit: Quincy Bulin Credit: Quincy Bulin
When hot gluing the fabric, I had to be careful not to move the fabric too much. I didn’t know how far from the top the cord would end so I didn’t want to accidentally trim it too much. This was the longest part of the process.
Once I knew how many skeins of cord I needed and where the cord would end, I was able to shorten the fabric even further before finishing. Finally, I added the floral trim. This is a finish I never would have thought of without this video. This was the easiest and quickest step ever, and it made a huge visual impact.
Credit: Quincy Bulin Credit: Quincy Bulin
final thoughts
Should I try DIY again? Yes, the final product is really nice! However, there are two caveats. Get another cord/rope and look into cutting the fabric.
I originally chose a green cord to compliment the pink, yellow, and white colors of the other materials, but I had to choose something a little thicker. It took quite a while to cover the box because the fabric was thin. I even had to go to the craft store for a third skein. Hot gluing the rope to the box was a meditative process for me, so it wasn’t a big deal, but it was something to consider.
I also plan to spend some time researching the best way to cut the fabric to achieve a cleaner look. Once you know that, you can reduce the cord and show more of the fabric.
Read more
Your microwave door has a not-so-secret feature that we’re only just beginning to know about, but there’s a catch.
See how a director used paint to transform a 1950s living room
We asked eight professional travelers what they would never pack in their carry-on luggage, and here’s what they had to say.
Sign up for Apartment Therapy’s daily email newsletter to have your favorite posts, tours, products, and shopping guides delivered to your inbox.

