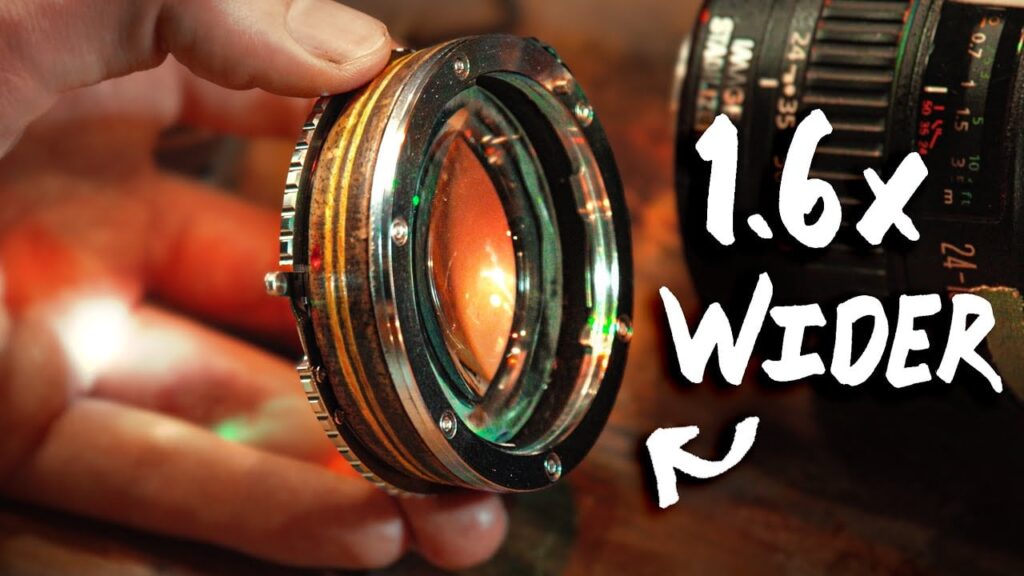
There was a time in the photography world when the word “DIY” felt like a dirty word. Everyone wanted to buy a solution, no matter how strange it was, and new manufacturers appeared every few minutes to meet their needs. But there was a time when DIY was the norm.
In many cases, there were no off-the-shelf options, so we had to build something ourselves. However, I don’t know anyone who has made their own speed booster lens adapter. At least, it wasn’t until I found this video by Evan Monsma.
To boost or not to boost?
We’ve seen quite a few DIY lens adapters pop up over the last few years. Usually we recycle the parts of the faulty camera and lens (or a regular cheap dumb lens adapter) and use 3D printed tubes to secure them at the appropriate distance. I’ve never seen one that is also a speed booster.
Speedbooster adapters are similar to regular adapters, except they include additional elements. This element helps regain some of the field of view that is lost when attaching a full-frame lens to an APS-C or Micro Four Thirds camera.
I also own a few, including the Viltrox NF-M43X Speed Booster Adapter ($78.50). I have a few of these so I can use Nikon F mount lenses on Panasonic bodies for video. I also have some non-boosted adapters ($34.99), and both types are very useful in a variety of situations.
A good speed booster adapter can be quite expensive, and some adapters are better than others, which is why cheaper adapters like Viltrox exist. However, cost alone is unlikely to motivate most people to try building their own products.
keep it simple
Evan’s DIY Speed Booster Adapter allows you to attach Canon EF lenses to Micro Four Thirds cameras. Yes, Viltrox makes one too ($149). But since he’s actually shooting with a Sony camera, he uses an off-the-shelf MFT to Sony adapter. An MFT mount on the adapter allows it to be used with either MFT or Sony cameras. If you attach the E mount directly, it will be exclusive to Sony.
Evan says the project has been on his mind for a while. In principle, it should be very simple. Create a tube of a given distance, attach the field-of-view correction elements and paste the appropriate mounts on each end. But Evan’s “element” was just an old magnifying glass.
This created some interesting challenges. It’s an interesting video to watch. It’s very interesting to listen to Evan’s explanations and see how he troubleshoots certain steps.
Even if you’re not interested in building your own adapter, this helps explain flange distance and why you need an adapter in the first place.

